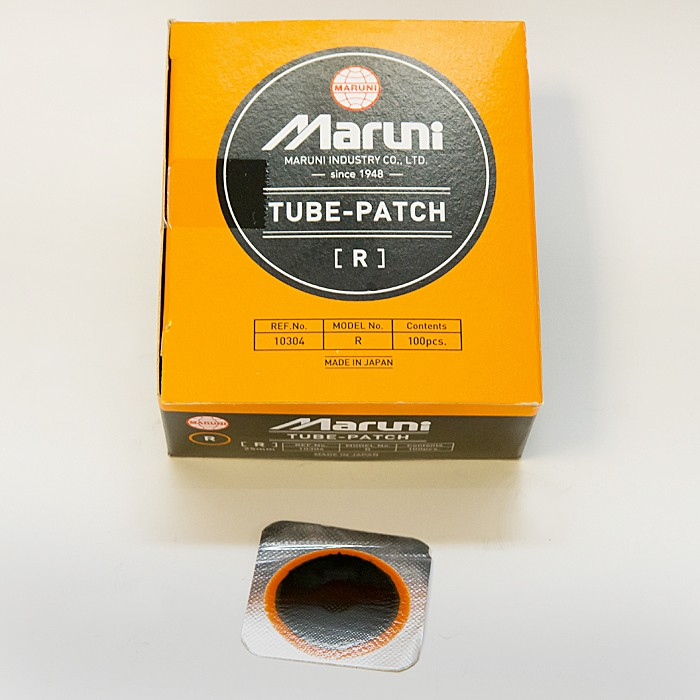
Universal inner tube repair patches, developed by the renowned Japanese company MARUNI. A high-quality product that will work for a variety of inner tubes, from bicycle to OTR.
Product features:
wide range of sizes in round shape,
bonding layer and reinforcing layer are bonded and do not separate,
possibility to overlap patches during repair,
packaged in a drawstring bag.
Instructions for Use:
Trim the edges of the damage to prevent further tearing.
Trace the size of the patch, roughen the surface, and apply vulcanizing cement.
Wait 3–5 minutes for the vulcanizing cement to cure (oxidize), then apply the patch.
Use a roller to firmly press the patch onto the inner tube.
Related products for a more effective repair:
Vulcanizing Cement for Tube Repair MARUNI VALKARN CFC-FREE
How to Properly Repair an Inner Tube Using MARUNI Vulcanizing Materials
Mark the damaged area Use chalk or a marker to clearly mark the damaged spot on the tube.
Reinforce the tear If the damage is a cut, reinforce the ends by eyeletting to prevent further tearing.
Clean the area Use Maruni Liquid Buffer to remove grease and dirt around the damage. Wipeitclean with a cloth.
Trace the patch outline Place the patch over the damage and draw an outline slightly larger than the patch itself.
Roughen the surface Mechanically roughen the marked area using a grinding tool or scraper to ensure proper bonding.
Remove dust and debris Use a pneumatic vacuum or blower to completely remove all dust and rubber particles.
Apply Vulcanizing Cement Evenly apply Maruni VALKARN Vulcanizing Cement to the prepared area. Waituntilitfullydries (3–5 minutes, depending on conditions).
Prepare the patch Peel off the aluminum backing from the patch. Avoid touching the active adhesive side.
Apply the patch Place the patch exactly on the treated area.
Press the patch firmly Use a roller to press the patch down from the center outward, pushing out any air bubbles.
Remove the protective foil Peel off the top protective layer. The repair is now complete.